Showing posts with label valentines. Show all posts

Monday, February 13, 2012

Last Minute Valentine Ideas


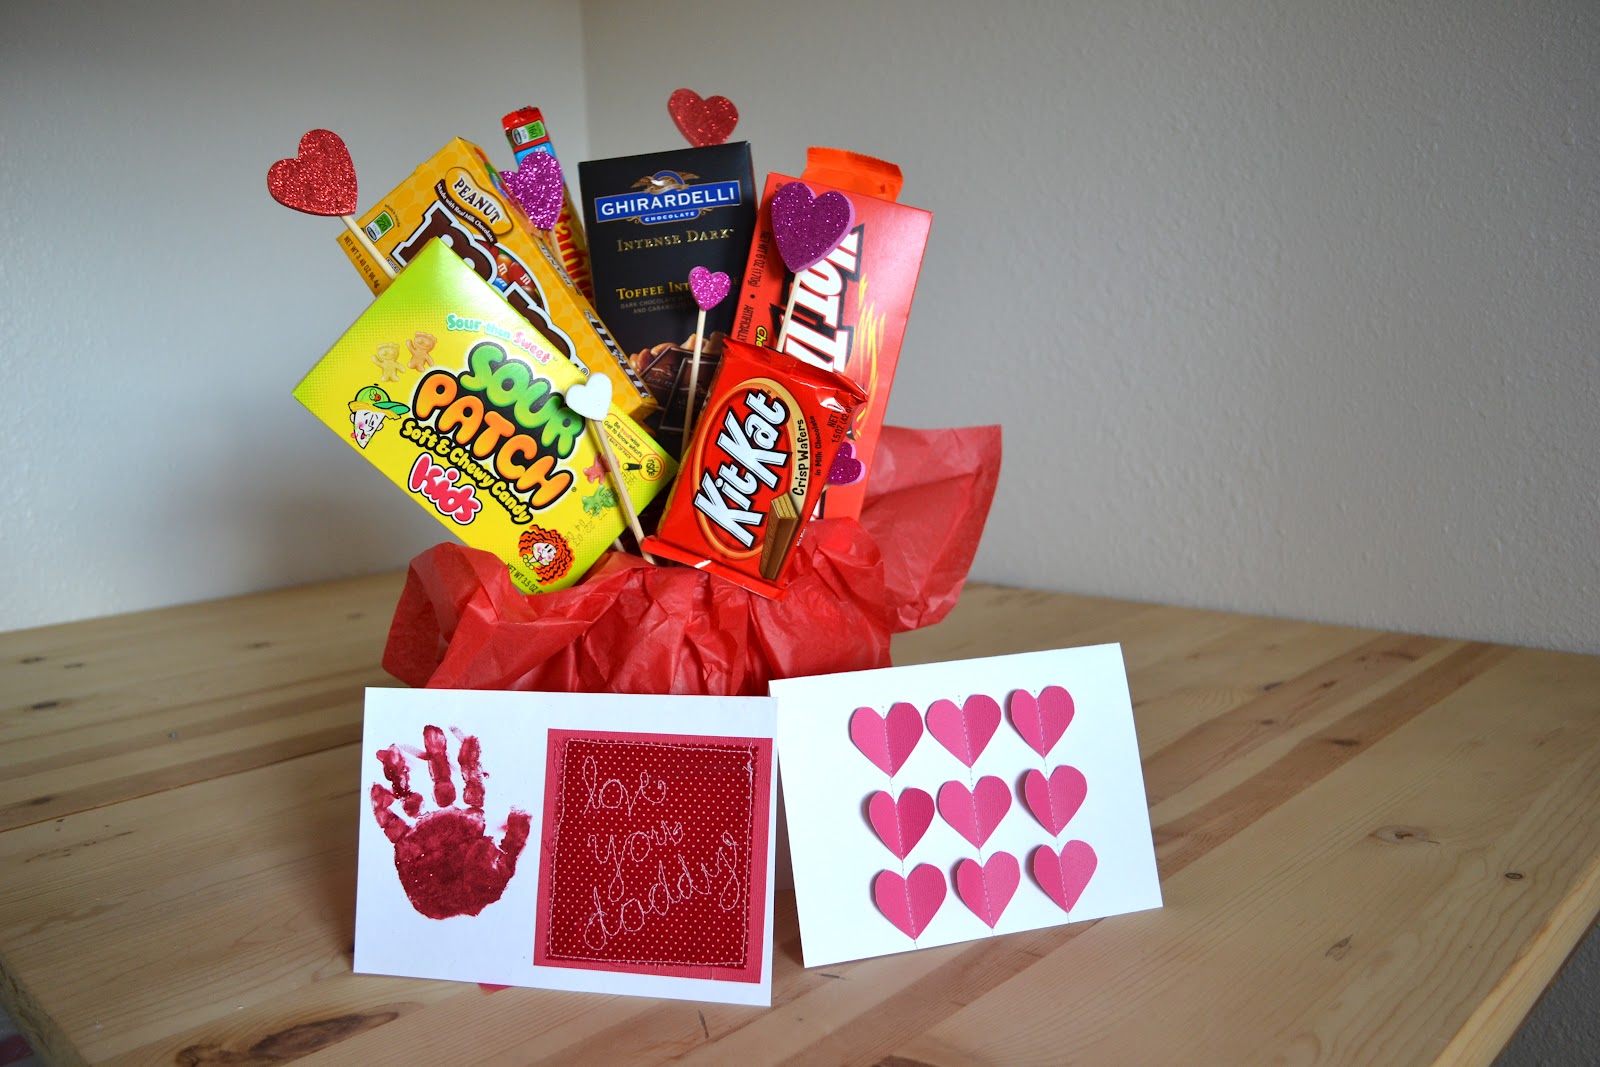
I slapped this stuff together in less than an hour for Valentine's tomorrow. It's also Rob's birthday, so I love spoiling him. I thought these were cute ideas, while still keeping it pretty inexpensive.

 I just whipped this baby up. I thought a handprint would be fun, and glitter always makes it more fun. I sprinkled it on when it was wet. Then I just sewed the fabric scrap on. I used my embroidery foot and lowered my feed dogs in my sewing machine to write the words. It's not perfect, but I like it that way. It looks more like Annie wrote it I think :)

I originally saw the idea for this here. She gives a great tutorial. 

 This is how you get the threads from coming loose. Just pull the strings through to the other side of the card, then dab a bit of glue to hold them in place. I was thinking I could have covered this with a piece of card stock, because it looks a little messy, but I doubt Rob will even notice. 

 You could do a candy bouquet in a million different ways.  We did these over at a friends house the other night, and some of the ladies had canisters, or vases, or cool valentines cups (you can find them at Wal-Mart or the Dollar store). They decorated with scrapbook paper, ric rac, ribbon. I kept it simple in a mason jar. Very manly, I might say.

I put a foam cone in the bottom of the jar, then filled it with tissue paper. Then just skewer or hot glue your favorite candy, and add some decorations and that's it. You could do other little toys, or love notes or whatever. 

Happy Valentines! Hope you all get to spend it with someone you love!

Thursday, January 19, 2012

Valentine Bunting

 I'm kind of obsessed with banners like this. 

I loved making this one. I picked fabric that felt a little vintage, and I love how it turned out. 

I originally found the inspiration here. She stenciled her letters on, but I liked the look of applique better.

Here's the cool part: I ran the fusible web through my printer with the paper side up so I didn't have to trace the letters on by hand. I felt so smart with this idea. Make sure you print the letters backwards though!

 I did this mock up to practice my blanket stitch length, and to make sure my proportions were right. Good thing I did this first. I put the Wonder Under on the wrong side :) Just iron it all on, and stitch around the heart and the letters. I chose a straight stitch for the letters and a machine blanket stitch for the hearts. You could zig zag, or do whatever you think is cute. 

Then I sewed bias tape on, and that was it. I made my own so it would match that coral pink, but you could make it easy on yourself and just buy some. 

All done. Love it.

Sunday, January 15, 2012

Crayon Hearts

 I saw this idea on the Martha Stewart website ages ago. I finally found time to put it together this year. The instructions are here. This would be fun to do with kids (just be careful with the hot stuff). You could do this for any season too-leaves in the fall, shamrocks for St. Patties, you get the idea. (PS, I spy our Christmas tree still in our back yard)

You just use crayon shavings and wax paper and melt into sheets using your iron. Once it cools, cut out the shape you want. My house smelled like an elementary school art room with all that melting wax :)

 I searched "heart template" in Google and it came up with a million results. I used this one. 

Then put it behind your sheet of wax when it's cool, and trace your design.

Hang them with fishing wire, and you're done. 
It's a nice lovey-dovey touch to our kitchen. 

More Valentine's decorations to come...